How to install interior doors correctly – step by step
Installing an intercom door is a task that requires precision and patience, but can be done with your own hands. Start by measuring the gap: the width and height should be 2-3 cm larger than the dimensions of the box for mounting gaps. Collect the box in the shape of the letter “P”, connecting the elements with screws at an angle of 45 ° or 90 °. Install it in the hole, placing it strictly level, and fix it with wedges. Hang the mounting foam, wait for drying and only then hang the canvas on the loop. It is important to leave a technological gap between the floor and the door of 1-2 cm for ventilation. The final stage is the installation of cash and accessories. Accuracy at every step guarantees smooth operation and long service life of the design.
Content of the article:
To successfully install intercom doors, follow today’s recommendations that will help you avoid common mistakes. Start with a thorough preparation, including a gap measurement, to ensure the perfect sample for your door.
First, determine the required height and width of the door opening. Use the construction level to make sure the foundation is flat. If necessary, adjust it with a spatula or screwdrivers. After that, choose the appropriate accessories and tools such as loops, handles and fasteners.
When everything is ready, start assembling the door box. The steps include: cutting the materials to size, assembling the frame using corners and screws, and installing seals to create better heat and sound insulation. Make sure the parts are properly joined to avoid problems during further operation.
When attaching the door to the box, observe the symmetry. Install loops with equal spaces from the upper and lower edges to ensure safe opening and closing. After that, check the operation of the mechanism and adjust if necessary.
The final stage includes the installation of flaps and sealing tapes. This will prevent moisture and reduce noise. After all work is completed, do general quality testing to make sure the installation is reliable and there are no gaps.

Preparation for installation: selection of materials and tools
Choose doors of the right size and style to harmonize with your interior. Explore different materials: wood, MDF, glass and combinations. Hardwood doors are durable and aesthetic, but expensive. MDF is lighter and more affordable, but may be less durable.
Determine the fittings: locks, handles and loops. Use quality products to avoid functionality problems. It is also important to choose screwdrivers and anchors that match the weight and material of the door box.
Tools should include a screwdriver, level, roulette, saw and screwdriver. Do not forget about the springs for fixing the door box. It is also useful to have a hammer, knife and ambulance at hand.
Purchase everything you need in advance so that nothing distracts during installation. Go for tools and materials with a clear list to avoid unnecessary purchases. The optimal price-quality ratio will reduce your costs and ensure the durability of the door.
Step-by-step installation of door box and canvas
Start by installing the door box. Make sure it is flat and stable. To do this, put the box on the floor, check the verticality using the level.
- Attach the bottom of the box to the wall using screwdrivers. Use oaks for added reliability.
- Install the side parts. Make sure they are in the same plane with the fixed part.
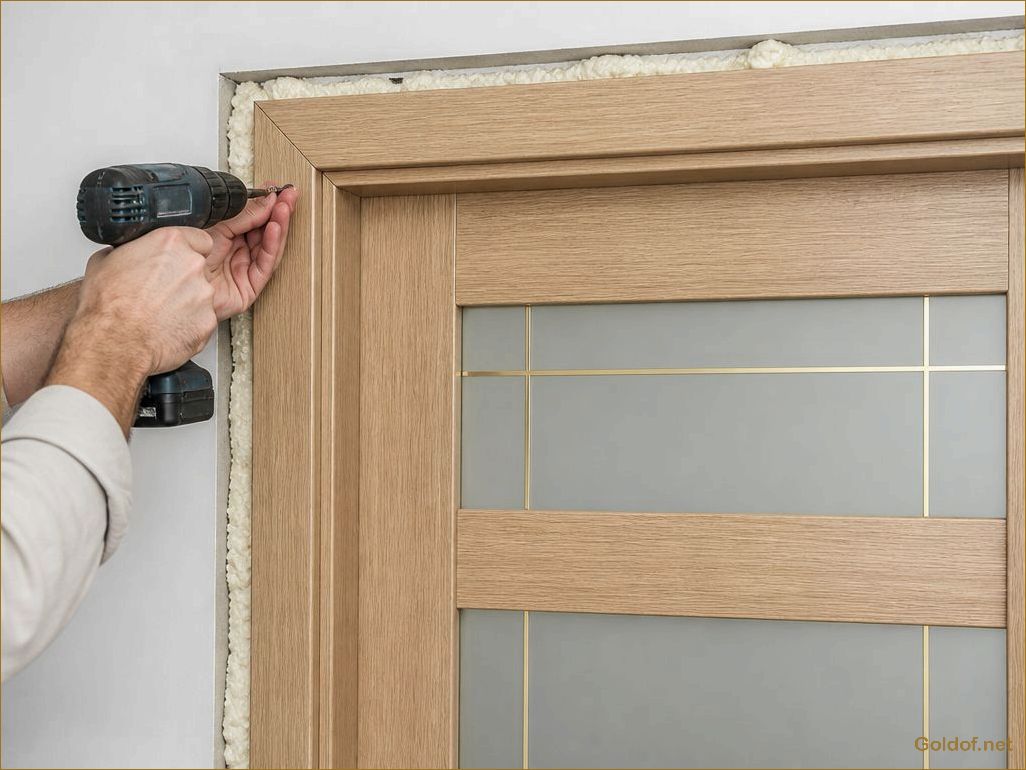
- Fix the top bar using screwdrivers. Make sure all corners are straight.
After installing the box, move to the canvas. Check the size of the box.
-
- Install the canvas on the hooks. To do this, insert the upper loop, then the lower, while monitoring the verticality.
- Adjust the position of the canvas. It should open and close freely, without jamming.
Tighten the loops, making sure they hold the canvas securely.
Make sure that the gap between the canvas and the box is uniform throughout the height. If the gap is too large or small, adjust the position of the loops.
After installation, close the gaps with mounting foam or sealant to improve thermal and sound insulation. After the foam is dried, it will be possible to install cash to complete the work.
Door and fittings adjustment
Ensure proper closure of the door by adjusting its position. Since the canvas can hang, check for gaps between the canvas and the box. If the gap on one side is smaller than on the other, raise or lower the door sill using the adjusting screws of the loops. It is recommended to do this carefully so as not to damage the structure.
After adjusting the position of the door, proceed to install the fittings. First, fix the curtains and make sure they securely fix the door. If hidden loops are used, monitor their alignment to avoid distortion.
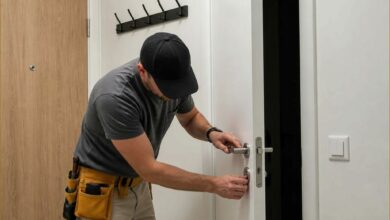
Place the handle at a level that is convenient to use. Make room for fastening holes, use the level to check the verticality. Check the holes and fix the handle. Do not forget about the overlay if it is provided by the design. Then pay attention to the lock: install it so that the key is easy to insert and rotate.
Complete the installation of PP fittings with a cable or spring mechanism, if any. Check their work: the door should open and close smoothly and without jams. Make sure all elements are installed smoothly and reliably, ensuring long service life.
Finally, make additional adjustments if necessary. To do this, you can screw the screws on the loops or adjust the lock mechanism to ensure its stable operation.