Tools for drywall: knives, spatulas, screwdrivers, tape measure
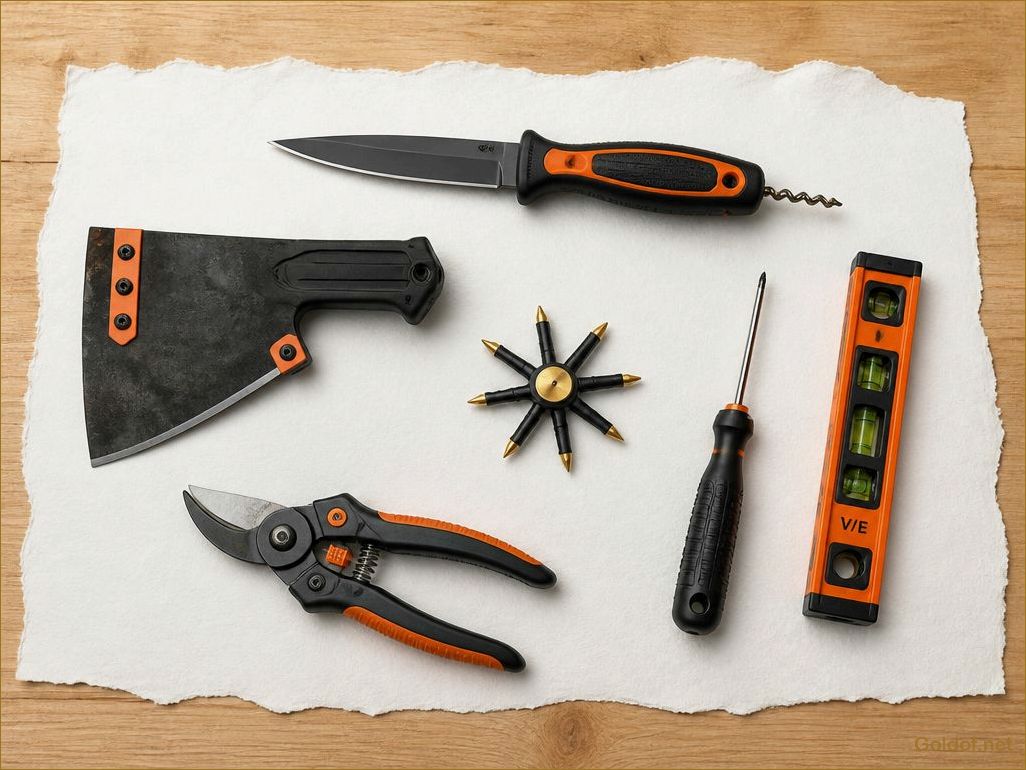
Working with plasterboard requires specialized tools, and we offer a complete arsenal for your projects. Our range includes everything you need: from basic spatulas and combs for applying and aligning plasters, to screwdrivers and dowels for reliable sheet mounting. Pay special attention to our gypsum board knives – the sharp blades will ensure a clean and smooth cut, minimizing dust and effort. To create perfect joints and corners, we offer corners, perforations and special profiles. There are also screwdrivers with adjustable screw depth, allowing quick and accurate mounting of sheets. Our tools are made of high quality materials, which guarantees their durability and ease of use. With us you can cope with any task of installation and finishing gypsum board, achieving a professional result.
I recommend to have in the working set: screwdriver with torque adjustment (12-18 V, 30-50 N·m), drill with mixer nozzle (600-800 rpm for plasterboard), set of spatulas 60/100/150/200 mm, gypsum board knife with guide, level 2 m and laser level with accuracy ± 1-2 mm/m, metal scissors, 5 m roller and lift for ceiling sheets (load capacity 60-80 kg).
Content of the article:
For fastening use screws 3.5× 25 mm when mounting 12.5 mm GCL on steel profile (0.5-0.7 mm), 3.5× 35mm for wooden frame and 3.5× 45 mm with two-layer lining. Step of attachment: walls – 200-250 mm in profile, ceiling – 150-200 mm. From the edge of the sheet keep a distance of 10-15 mm. Drop the cap 0.5-1 mm below the surface, adjusting the torque on the screwdriver.
For seams, use a paper reinforcing tape of 48-50 mm on the starting glue; for cracks and vibrating areas – 50 mm fiberglass tape. Apply the first layer of plaster 1-2 mm, let dry at +20 ° C for about 24 hours, then grind and apply the finishing layer 1-2 mm. For mixing dry mixtures, use a mixer; Adjust the speed so as not to introduce excess air.
For cutting and mounting profiles, keep in the set a metal scissors, a bending tool or a manual sheet knife, a perforated guide profile, profile cutters and joint connectors. 2 m rule and 1-2 m level are convenient for aligning the frame and planes; The laser accelerates the exposure of verticals and horizons.
Grinding: replaceable abrasives with a grain density of 80-100 for removing large irregularities, 120-180 for intermediate and finishing finishing; telescopic holder with connection to construction vacuum cleaner reduces dust. SIZ: respirator class FFP2/P2, protective glasses, gloves and ankles. Small tips for speed – keep a stock of spatula and tape, as well as a set of PH2 bits and a depth limiter on the screwdriver.

What and how exactly to cut plasterboard for walls, ceilings and openings
Straight long cuts and fine cuts
For long straight cuts, use a hard guide (metal rail or ruler). Hold the sheet along the line: for a length of up to 2.5 m you can lean on two supports with a step of ~80-100 cm. For 12.5 mm GCL, make 3-6 passes with a knife; for 9.5 mm – 2-4; for 6.5 mm – 1-2. After slicing, break the sheet with sharp pressure down (face up) so as not to crush the paper.
If you need a clean front edge (visible side), cut the front cardboard, then cut the back paper along the line from the back side or make a second cut from the back side for one or two passes; it will reduce the rocks. On narrow strips (wider 50-70 mm) make a notch on both sides and saw on the edge.
For a neat edge, use a plasterboard cutter or overfill-« Turkey» Remove 1-3 mm of the core along the edge and align the paper. If you plan to connect at an angle, leave the beam 5-10 mm on the edge according to the instructions on the profile.
Holes, outlets and curves
For internal cutouts (sockets, switches) mark the contour, drill a hole of 10-12 mm in the corner of the contour and insert a narrow saw blade or multitul; Saw from the back to avoid chips on the front paper. For standard sockets, cut the pattern with accuracy ± 1 mm.
For round and complex shapes, mark with a circle or template, make shallow frequent cuts with a knife on the front side, then remove the core in small fragments or spray with a thin cloth electro-bubble. For radii less than 200 mm, use a thin sheet (6.5-9.5 mm) or pre-make a lot of transverse notches on the bending side and carefully bend.
When cutting openings under doors and windows, leave a technological gap of 2-3 mm between the edge of the plasterboard and the box for subsequent plastering and shrinkage; for door openings often leave 5-10 mm under the frame binding and pick-up elements.
On the ceiling work with two assistants or use a stand/lift. Transfer the mark to the back of the sheet and cut from it – this reduces the likelihood of cracks on the visible surface. For large panels, use the platform and make a notch along the shortest line to the support, then carefully break and align the edge.
When working with reinforced or moisture-resistant sheet, apply more frequent passes with a knife and a fine-toothed cloth for electrolubrication; Cooling and slow motion reduce crushing. Always remove dust and debris before assembly so that the edges fit tightly and without deformation.
How to choose and fasten profile, suspensions and screws by step and load
Step stands for partitions: when lining on one layer 12.5 mm — 600 mm. For tile cladding, bathrooms, places with mounting of heavy objects — 400 mm. For a two-layer design, a step of 600 mm is allowed provided that the second layer is fastened with screws with access to the sewer profile.
Step guide and carriers for ceilings: carriers (CD) place with a step 600 mm for a single sheet. Suspensions put along the bearing through 1000-1200 mm under normal load; when double-decking, insulation or cladding with heavy materials – reduce to 500-700 mm. The distance from the wall to the first suspension or support is not more than 150-200 mm.
Types of suspensions and when to use them: straight suspension for rigid attachment of bearings at a short distance before overlapping; adjustable suspension (starting/spring) for level alignment and large deviations; river/stringer suspensions – to enhance long runs. If point loads (cabinets, air conditioners) are assumed, add a reinforced suspension and anchors to the overlay under each point.
Choice of beams and anchors: to attach the suspension to the concrete, use beams/anchors with a diameter of 6-8 mm and a length depending on the base layer (usually 40-80 mm). For blank overlays, use a special blank anchor (molli, chemical anchor for heavy loads). For bricks, reduce the step of the suspensions and choose anchors with a deep landing in the pile.
Screws for GCL: when attaching the sheet 12.5 mm to the profile take the screws on the metal 3.5× 25mm (black or coated). For double layer or if additional length reserve is required — 3,5× 35 mm. For fastening thick / reinforced structures, use screws 3.9-4.2 mm long 35-45 mm.
Step of screws on the sheet: on the edge of the sheet — 200 mm, in the field — 300 mm. For tiles, wet areas and under increased loads, reduce the step to 150–200 mm. Self-tapping stick to the profile put at least two on each joint of the profile with a step in height of not more than 200 mm.
Screw bolting technique: the head should be drowned in the cardboard layer by 1mm, do not tear the paper surface of the sheet. Use a screwdriver with torque adjustment; when twisting manually control the failure of the hat. Excessive depth reduces the retention capacity and complicates the spatula.
Connections of profiles and reinforcement of fastening places: connections of the guides seal inside with a screw with two screws through 200-300 mm; fix at least two screwdrivers at the top and bottom. For the installation of door boxes, heavy objects or places with a large load, put double racks and strengthen the site with horizontal switches, fastening them with screws 4,2× 35 mm.
Load step adjustment is a quick rule: add one mounting point (reduce the step by 30-50%) for each of the factors: double floor, frame heater, tile/marble/ceramic, local heavy loads. For combined factors, switch to a reinforced profile and more frequent suspensions.
Short inspection card before installation: profile – the width and thickness of the metal under the height and load; step of stands — 600/400 mm depending on the conditions; suspension – 1000-1200 mm with light load, 500-700 mm with heavy load; screwdrivers — 3,5× 25 (usually)
